10″ Maleficent Custom

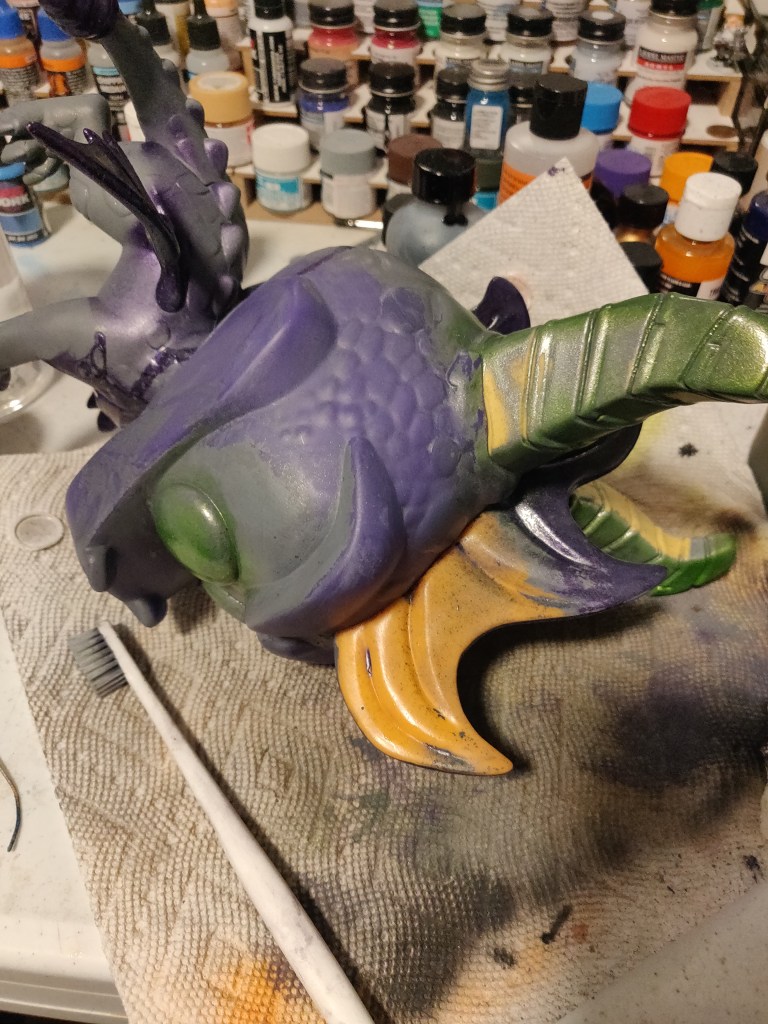
Around last October/November, a friend of mine was looking to make a custom Funko Pop. Specifically, he was inspired to turn a 10″ Spyro into Maleficent (source of inspiration). This would be his first custom Pop, so with me having a whopping 2 under my belt, he came to me for advice.

I did my best to advise, giving nuggets of wisdom such as “take your time” and “it’s okay if it’s not perfect”; along with a few other helpful tips such as paint selection and the use of masking/detailing tapes. In the end though, I wanted to leave a lot of it up to him so it would be a good learning experience. After a few months, he wasn’t pleased with how his custom was coming along. He ended up choosing spray paint for his method of painting, and that combined with spraying in a cold garage in winter resulted in various defects in the paint job; drips and orange peel.

Wanting to help out, I offered to fix it up for him and he agreed. Within a few weeks I had his half finished custom on my work bench and started formulating how I was going to approach “fixing” it.

As I started my side of the project I knew I couldn’t just paint over what he already had. If I did, the drips and orange peel spots would show through. That left me with either sanding the paint or removing it with a solvent. As I looked more at what was already done, I realized I would have to remove most if not all the paint. In a lot of spots the paint wasn’t fully adhered to the figure and chipped off in places. Despite using a primer, we both had overlooked that Funko most likely makes these pieces through a molding process, as such they would use mold release, which would result in paint not properly adhering to the surface. And so began the long process of chipping the paint off, then using a mild solvent (& toothbrush) to scrub any spots that couldn’t be chipped off, followed finally be sanding to ensure everything was smooth and the mold release was fully gone.

At this point I felt fairly bad. Here was a custom that my friend had worked on and I erased all of that progress and work. But knowing that I was here to help him out, I pushed forward and destroyed it even more by dismantling the Pop.

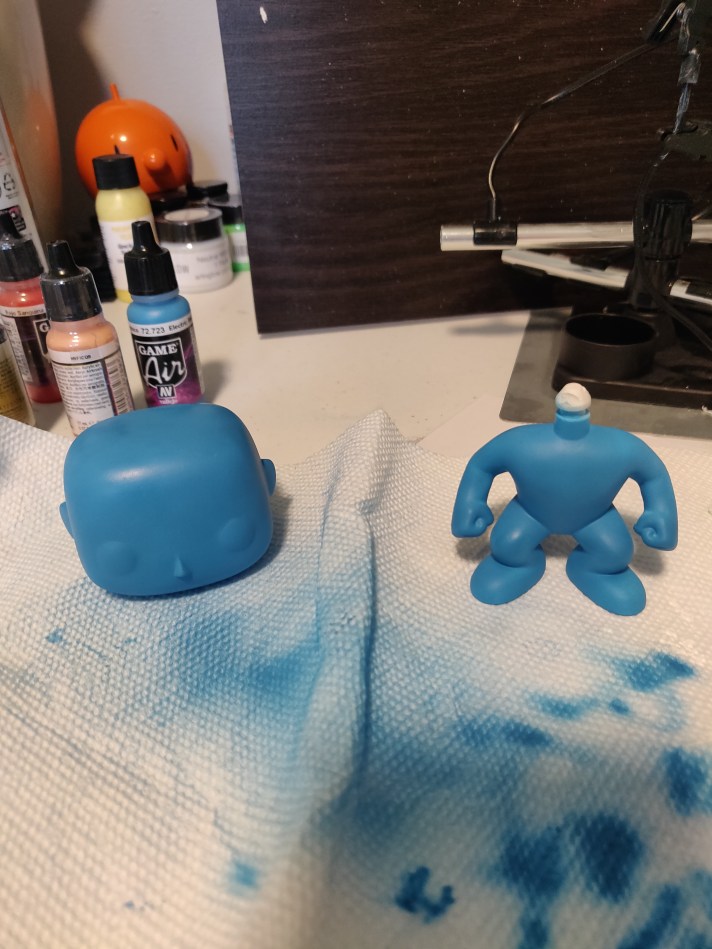
All Funko Pops are not one single piece. Due to the molding/painting process, it’s easiest for Funko to split a Pop up and assemble the pieces together. Some Pops it can be hard to tell what pieces are separate, but Spyro was pretty easy. The head fin and horns were clearly different pieces since the plastic color was different and it wasn’t a paint job, and the wings were also separate due to the crease around the base of the wing. There were probably a few other spots where the Pop would split, but I decided those would be the easiest/most beneficial to split off. With the use of some hot water and some careful prying, I was able to remove the pieces, and from there prime all the pieces a basic white.

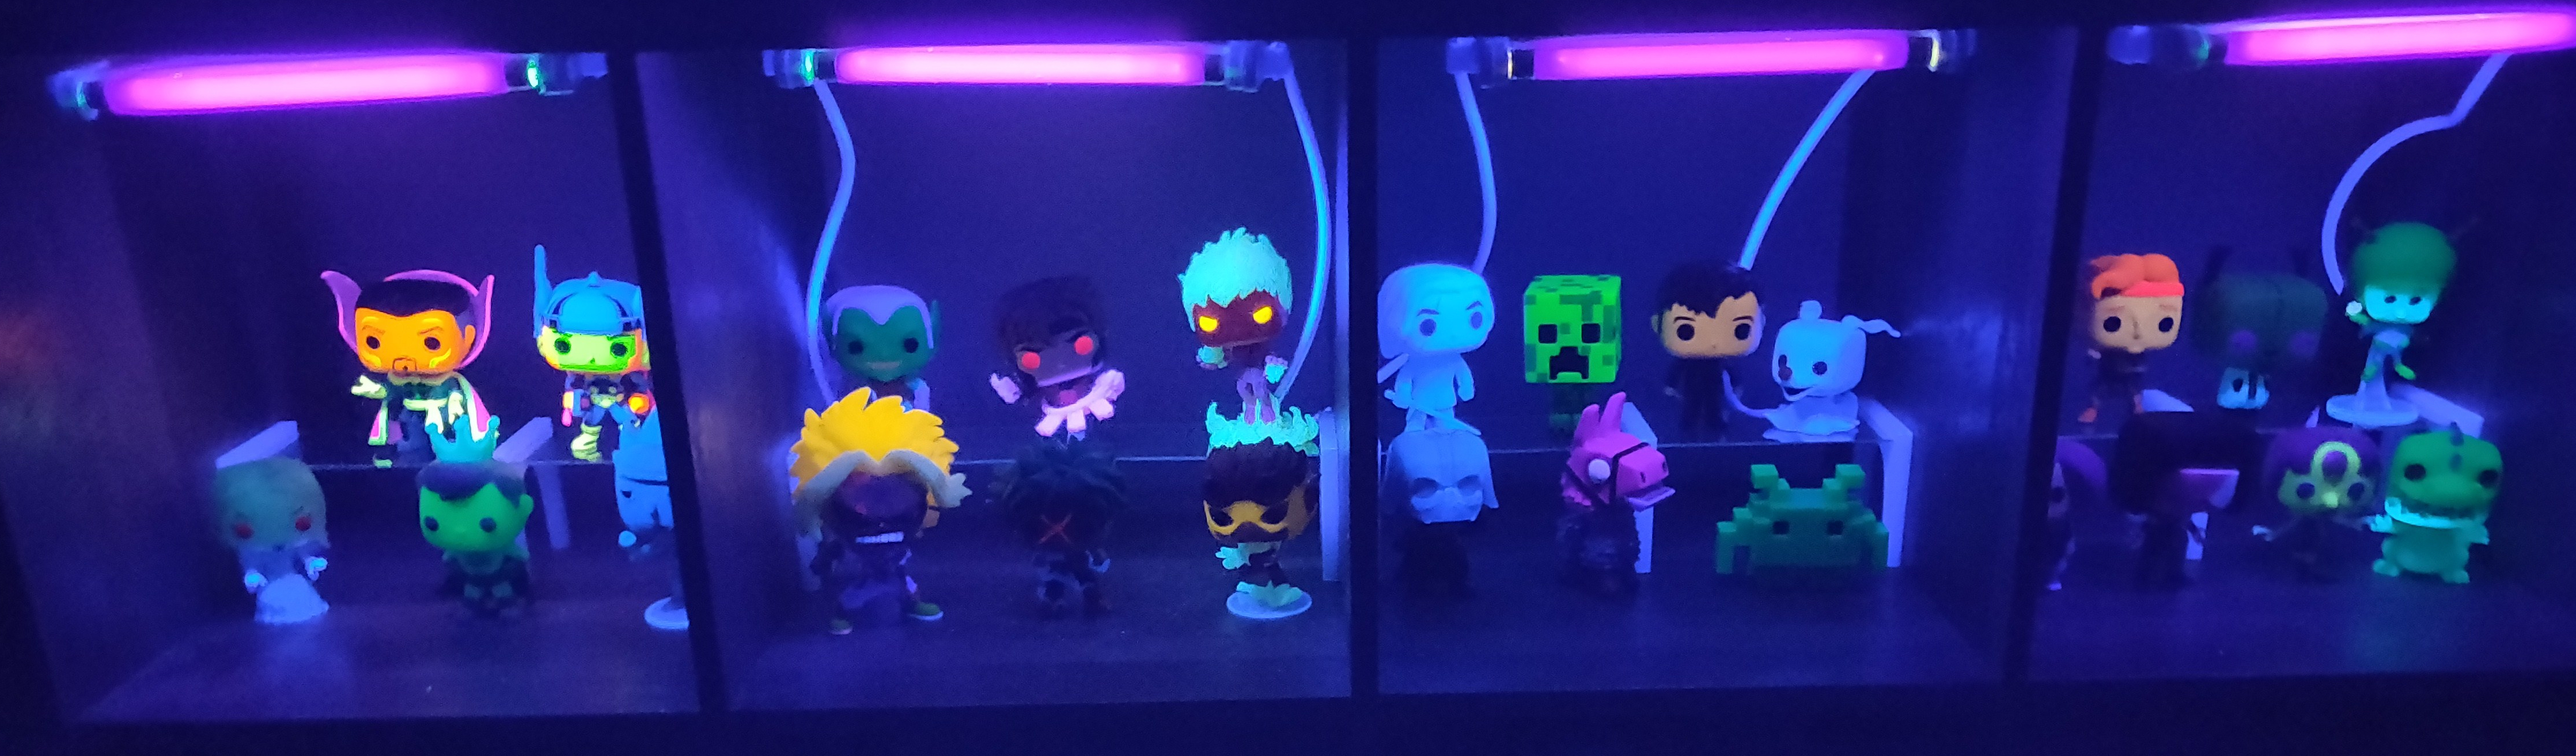
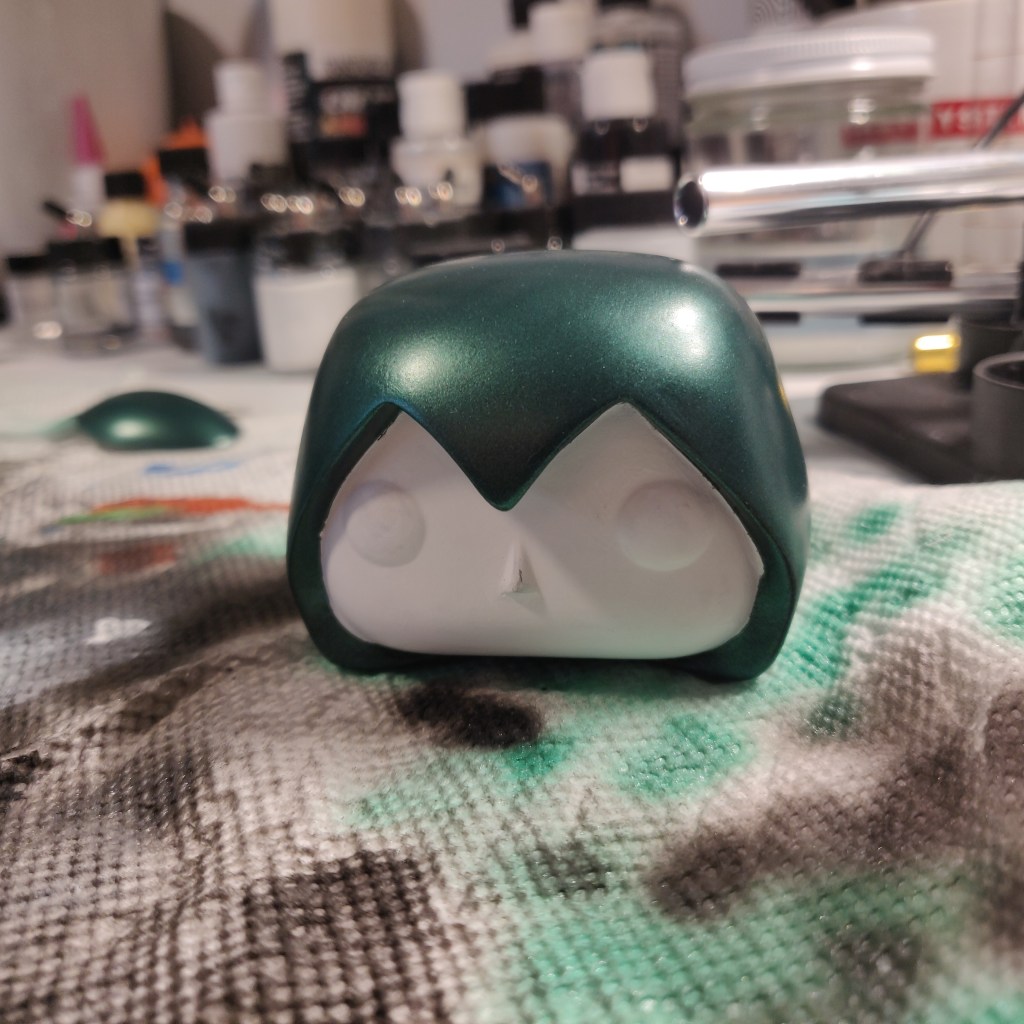
The next part was a little more difficult. What type of finish was I aiming for? My friend was going for a more metallic look, but I didn’t want to just go back and redo what he was planning to do (just in case he ever wanted to revisit this project in the future). That left me with a few options: just a plain paint job, glow in the dark, or black light.

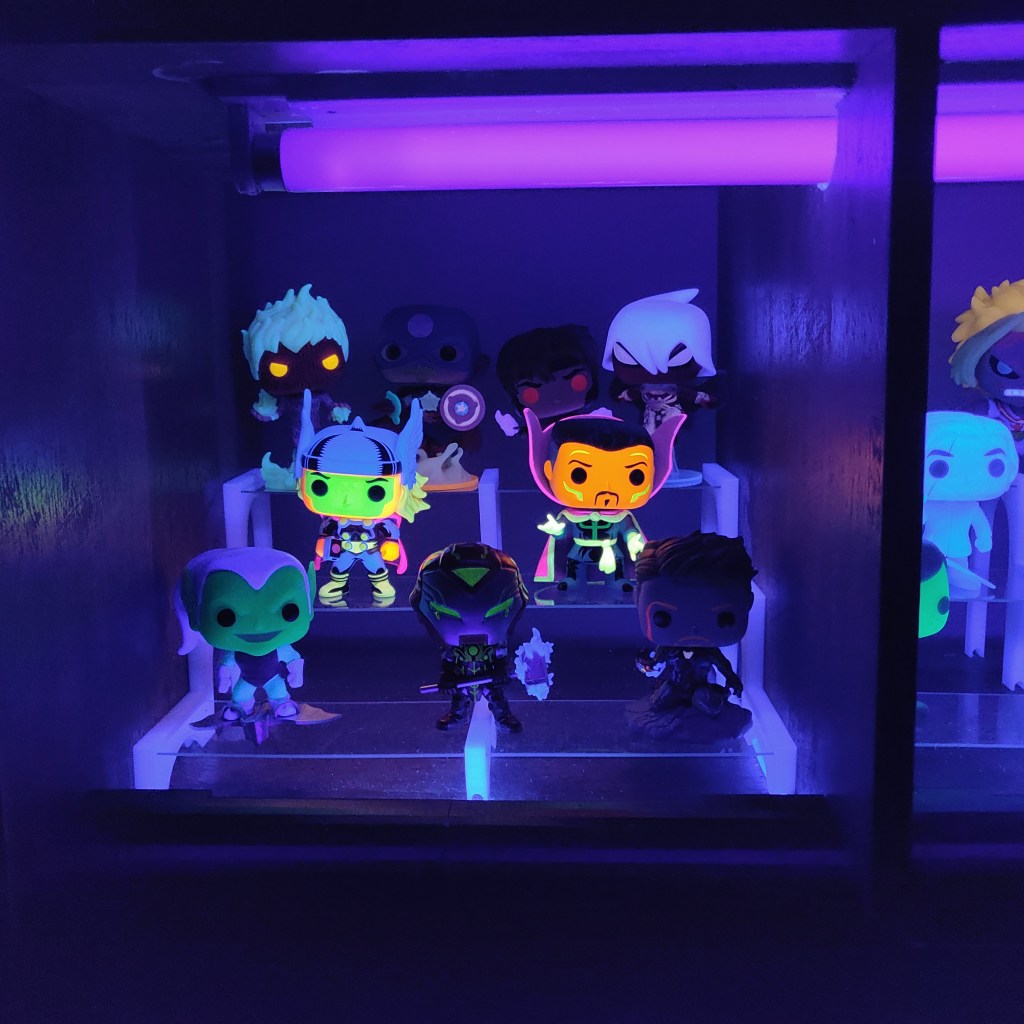
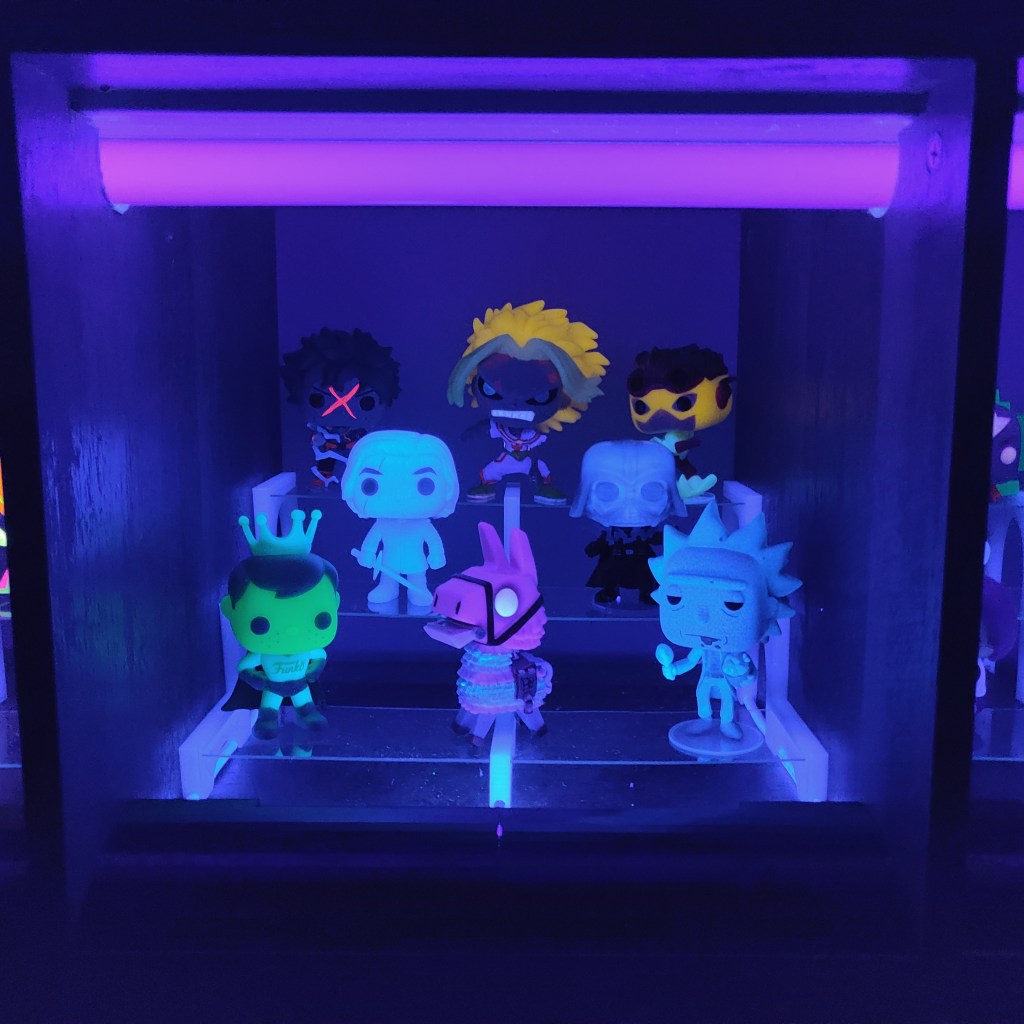
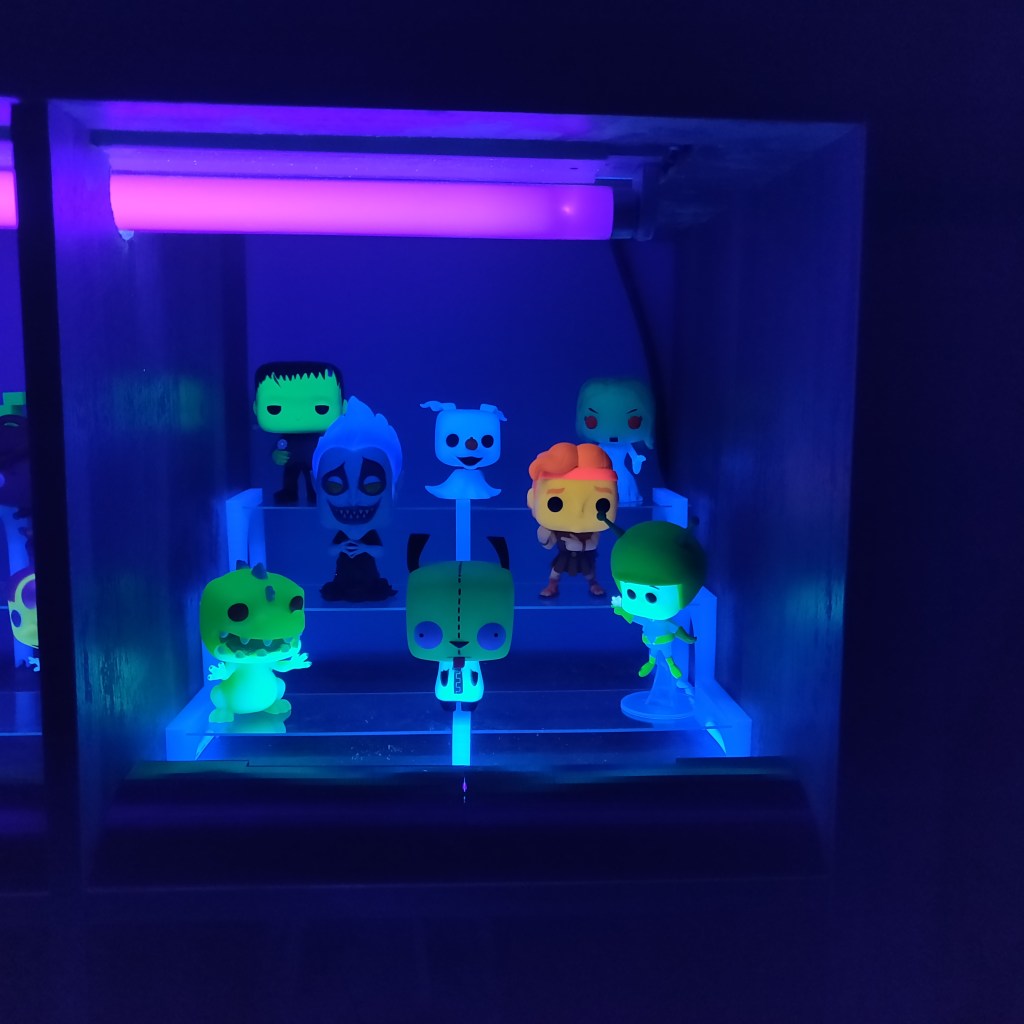
I wanted it to be somewhat special, so I decided against the plain paint job. As for glow in the dark, I’m still working to figure out the best method for doing that. As a result, I settled on black light paint.

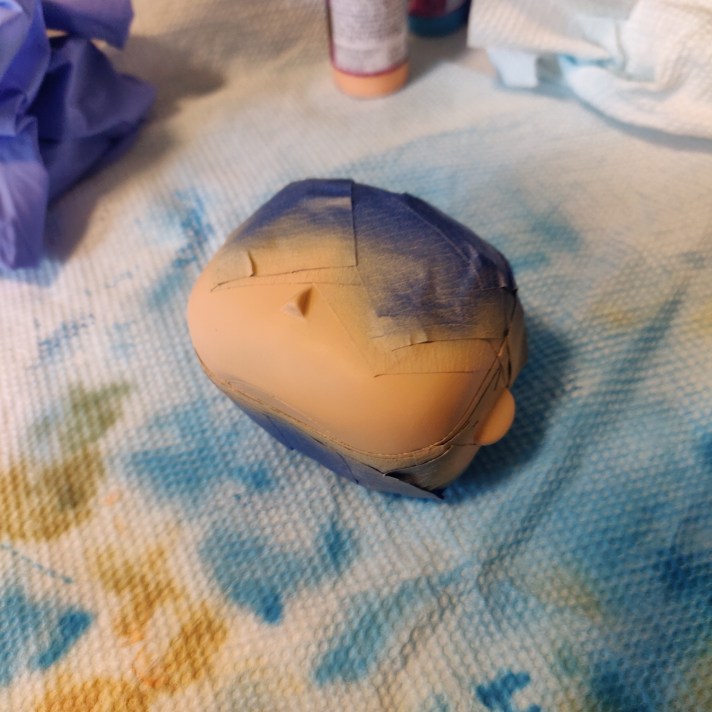
With the black light paint, I airbrushed it on, not caring if I over sprayed certain areas since I knew I’d just go back over with black paint to cover it up. For the black paint I ended up using a brush instead of an airbrush since it gave me a little more control and I didn’t have to worry about masking all the small details.

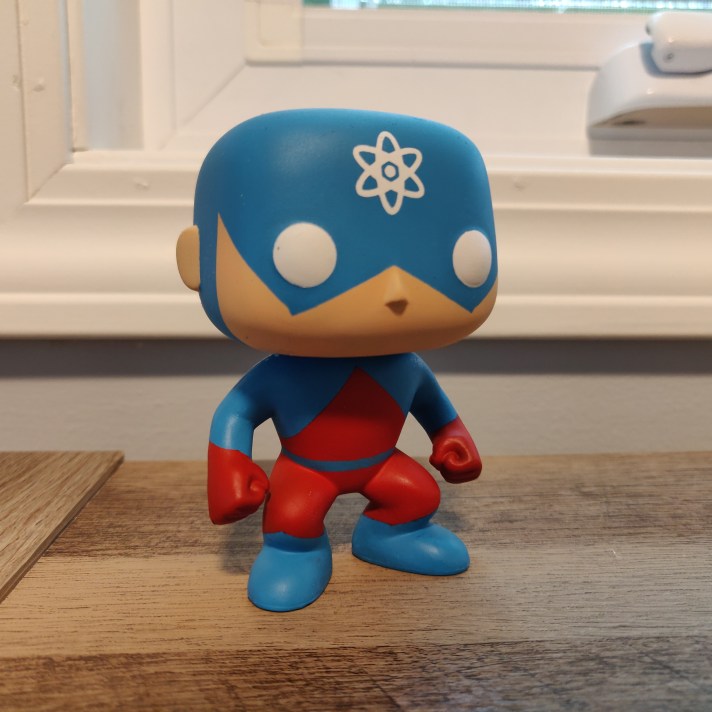
Once I thought my coverage for the entire Pop was good, I reassembled it, gluing the various components back into place. With it all glued up and ready to go, I gave it an overall satin clear coat finish through my airbrush. This ensured that everything had the same finish/shine, making it more cohesive overall. And with that, I considered this project done and hope my friend likes the finished Pop.

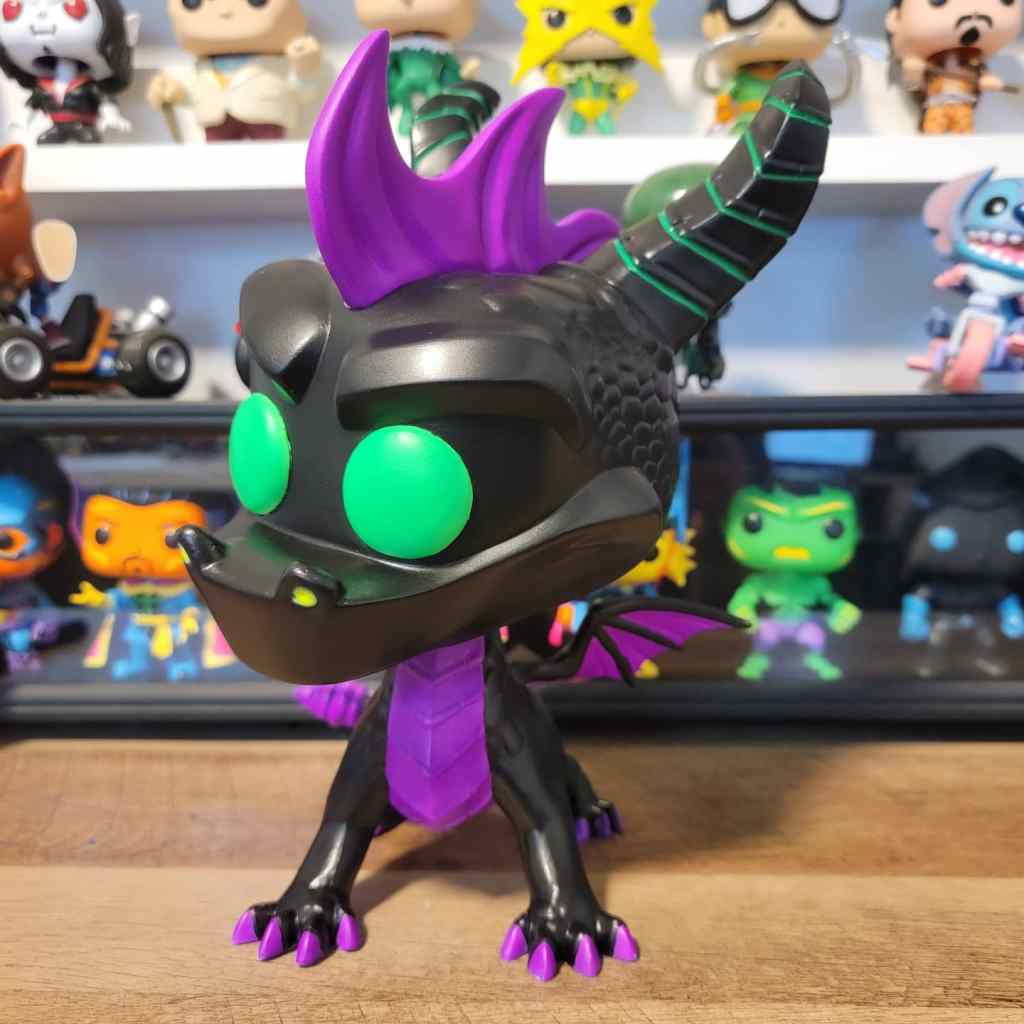
One final note to leave you on. This is by no means a perfect custom, it’s filled with flaws. Brush strokes, edges that aren’t clean, etc. But that’s okay. When making customs, don’t get discouraged by your mistakes. Nothing is perfect, and so you shouldn’t expect your customs to be perfect as a result. Just do your best and know that you’re learning as you go. The biggest thing is that you’re having fun as you go.

Creating a Glow-in-the-Dark Display for Funko Pops

When it comes to collecting Funko Pops; Glow-in-the-Dark (GITD) Pops tend to be some of the coolest ones to collect and display. Some Pops may have full body glows (glow particles embedded within the vinyl itself), others may have just minor details glowing (typically glow paint applied to those portions), but no matter the type it’s an extra layer that really causes these figures to… Pop! And as such a proper display should be used to show them off in all their glowy-goodness.

A small portion of my glow collection

Design

When you first begin to design your glow display, the first thing that needs to be taken into account is where you plan for your glow collection to be located. For Pops to glow at their brightest potential, they need a UV light source to charge the glow (the most common two being the sun and a UV light). So, if you plan to have your collection by a large window that gets sun all day long, you could be fine without the need for a UV light, however, if that’s not the case, then you’ll need to incorporate a UV light into your display. In addition, you’ll also need to determine what type of display you want and how to build it. Do you plan to build a custom shelf/display case? Modify existing furniture? Or something else entirely? From there you can start to build up a list of requirements.

My Requirements

When building my display I had the following requirements:

  • Must be able to hold all of my GITD Funko Pops and have extra room for any future GITD Pops (should be obvious, but if I have a certain amount of Pops, I don’t want to build something only for it to no longer suit my needs in a few months).
  • Any UV lights that are used must be mostly hidden (just want an overall sleeker look to the overall display).
  • Must fit in with my office decor (Again, pretty obvious, but I don’t want a display that doesn’t look like it belongs in the room).

So overall, not that many requirements. At first I thought about making a wall shelving unit for a display, but soon realized that it would probably look a bit messy with cable management and in order to hide some of the lighting, the shelves would need to be on the thicker size. After some thinking though, I soon realized that I could modify an existing furniture item in my office to accommodate a display.

My Build

I decided to use my cube storage unit for a display case since most of it was only being used for temporary storage while I was still getting my office set up just the way I wanted it. The first thing I had to do though was come up with an estimated Pop capacity for the display (keeping in mind that I only wanted to do the top 4 cubes since I still wanted to use the bottom 4 for other items).

Each cube is 13 inches across, so it could fit 3-4 Pops comfortably inside. As a result, if I did all 4 cubes just a single line of Pops, I could hold 16 max; or if I incorporated risers, I could increase my max capacity to 32 Pops.

Going back to my requirements, I wanted to ensure my display looked nice, so I ended up designing my own risers by using a piece of acrylic and 3d printed stands. The benefit of doing so is that I can determine just how much of the Pops in the back are being covered by the Pops in the front. Also, by designing them myself I was able to maximize the entire width of the cube and not be limited to an existing length.

Once I had my risers sorted out, I thought I was near the home stretch. I just had to install some UV lights and I would be done. I found a few small under the cabinet fluorescent lights, and ordered corresponding black light bulbs for them. I went with fluorescent over LED due to having better UV for a cheaper price

With the lights installed, my wife would call it done, but it just didn’t sit right with me. The UV lights were too exposed and I felt like the glow was still very much lacking. I know cable management could’ve helped with some of the look, but I didn’t want to keep moving forward only to have to undo a bunch of the work. So I decided to uninstall the lamps and go in a slightly different direction.

The very first thing I did to see if I could get a much better glow capability was to go out and get a larger black light. So I ended up purchasing a 4 foot long lamp, with the intent of cutting my furniture to make it work (something I was originally trying to avoid by using the smaller lights).

Due to this approach, I now had to cut a slot in the underside of the table top where I could hide the fluorescent light fixture and also cut holes through the individual panels so that the 4 foot long light bulb could span the entire length of the piece. This just turned into a much larger project. So my first task was to disassemble part of the piece so I could properly modify it.

To my surprise (although it really shouldn’t have surprised me), the top piece of the cube storage wasn’t solid wood. Rather it was 2 thin pieces of particle board with a cardboard lattice infill. At first I thought that this would entirely mess my plan up, but I ended up altering my plan slightly. Instead of mounting the lamp fixture directly into the hole, I ended up cutting some pieces of wood to help reinforce the structure, and then attached the lamp fixture to that.

Once all the holes were cut, the lamp was installed, and the furniture piece was reassembled; I was quite happy with how the display was looking. Although, I did still have four small lamps that I had previously purchased…

Putting the old lamps on the bottom, I was really liking how much the Pops were glowing, although similar to my initial issue, I didn’t like how those lamps looked, so I needed a way to better hide them; and unfortunately the shelves were too thin to try and hide them similar to the top. In order to remedy this, I ended up designing and 3D printing a fixture to hide the lights. Along with this, I also redesigned the risers to accommodate 3 shelves instead of 2, raise the lowest level above the bottom shelf light, and to help hide the cable.

Once these modifications were made, I finally felt that my design was done (mostly). Really the only thing I’ll plan to alter in the future is to probably add some wood veneer over the bottom lamp cover so that it blends in with the furniture a little better. But until then, my glow display is finally the way that I want it.

Bandai TIE Fighter Build

A while back I ended up painting my first Star Wars Bandai model. I don’t have much in the way of progress pictures for this one. I ended up purchasing an LED setup for the model as well, which I think ended up looking great. Overall a very fun build to do and I can’t wait to make more.

Creating The Spectre

Recently I had the thought that the Moon Knight Funko Pop looked like it would make a good Spectre from DC Comics. As a result, I decided to give it a go!

This project was a relatively simple one, mainly focusing on being a repaint and only needing minimal work outside of that (I had to sand down the moons on the belt). One aspect that made this Pop even easier to customize is the fact that most parts separated from each other quite easily; allowing me to paint full pieces with either little or no masking required.

With this custom, I decided to branch out a little more than what I previously did, by working with pearlescent paint and glow paint. Both weren’t too bad to work with and I’m very pleased with how the pearlescent effect turned out. However, I do feel like I need to experiment more with glow paint/powder in the future to get the right effect that I’m looking for (the glow paint was a bit thicker than I’m used to and didn’t play too nice with masking).

Creating The Atom Funko Pop

A while back, one of the custom Funko Pops that was on my list to make was The Atom from DC Comics, specifically the old comic book costume design since the only Atom Funko Pop is the one based on The Legends of Tomorrow TV show. Overall, the the costume for The Atom is pretty basic. Only a few colors (Red, Blue, White, and Skin tone), and very minimal details that would stick out from a general Pop model (no wings, weapons, crazy shaped masks, etc). Due to this, I ended up going with using a basic DIY Male Funko Pop as a base.

After purchasing the base Pop that I was planning to use, I bought the colors needed for airbrushing the Pop. Typically with painting it’s best to apply the lightest colors first and then go darker; that way you don’t need to use more and more coats to cover up the darker layers. However, with the paint used for this, it’s all fairly equal in brightness, so I went blue -> red -> skin tone -> white. With the white being last due to it involving the most complicated masking.

There were a few mistakes that are aren’t too bad, but I wish I had caught earlier on. Such as the points under the eyes having the small vertical spots and not having the perfect “V” shape. Also, I ended up excluding the belt buckle in the final design, which could have been something to add by creating a small oval shape either out of clay or 3D printed and then glued into place. Overall I’m pleased with the end results of my custom; especially since it’s my first custom. Like always, it’s best to keep my mistakes in mind as a learning experience and apply those learnings to future projects rather than dwelling on them.